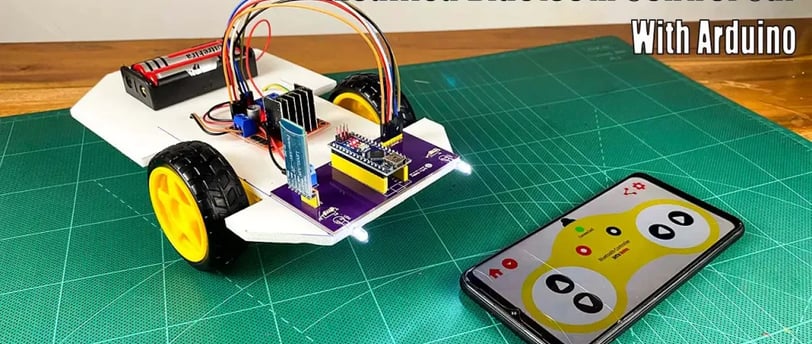
How to make a modified Bluetooth control car with Arduino Nano
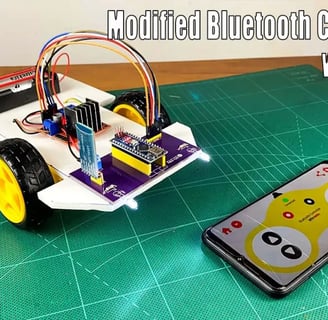
**Bluetooth Controlled Car with Arduino Nano** This project demonstrates building a remote-controlled car using an Arduino Nano, Bluetooth module, and motor drivers. The Arduino receives commands from a Bluetooth-enabled device (like a smartphone) and translates them into signals to control the car's motors, allowing for forward, backward, and turning movements.
SCIENCE PROJECTS
Creating a modified Bluetooth-controlled car using an Arduino Nano is an exciting project that combines robotics with wireless communication. Here’s a step-by-step guide to help you build your own Bluetooth-controlled car.
### Materials Needed:
1. Arduino Nano: The brain of the project.
2. Bluetooth Module (HC-05 or HC-06): Allows Bluetooth communication.
3. Motor Driver Module (L298N or L293D): Controls the motors.
4. DC Motors with Wheels: To provide movement for the car.
5. Chassis: A base to hold everything together, which could be a pre-made robot chassis or something homemade.
6. Power Supply (Battery Pack): To power the Arduino and motors.
7. Breadboard and Jumper Wires: For connections.
8. Smartphone or Bluetooth-enabled device: To control the car.
### Step-by-Step Instructions:
#### 1. Assemble the Chassis
- Start by assembling your chassis. Mount the DC motors and wheels onto the chassis securely. Ensure the wheels can spin freely.
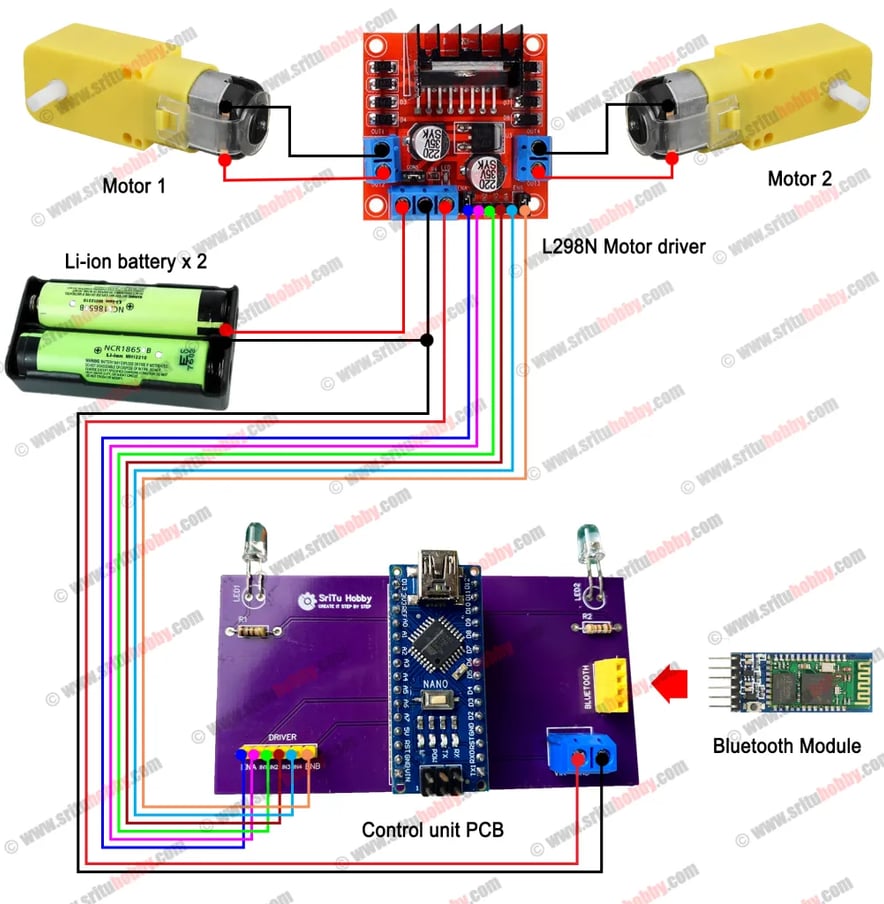
#### 2. Connect the Motor Driver
- Connect the DC motors to the output terminals of the motor driver. If you are using an L298N module, connect the motors to terminals A and B.
- Connect the motor driver’s input pins to digital pins on the Arduino Nano, which will control the direction and speed of the motors.
#### 3. Wire Up the Bluetooth Module
- Connect the Bluetooth module to the Arduino:
- VCC to 5V on Arduino.
- GND to GND on Arduino.
- TX (Transmit) pin of the module to a digital pin on the Arduino (e.g., D2).
- RX (Receive) pin to another digital pin (e.g., D3) through a voltage divider to step down the voltage.
#### 4. Power Connections
- Connect the power supply to the motor driver. Ensure that the voltage and current specifications match your motors’ requirements.
#### 5. Write the Arduino Code
- Create a sketch in the Arduino IDE to handle Bluetooth commands. The code should read commands from the Bluetooth module and control the motors accordingly. Below is a simple example:
```cpp
#include <AFMotor.h>
AF_DCMotor motor1(1); // Motor A
AF_DCMotor motor2(2); // Motor B
void setup() {
Serial.begin(9600); // Start the serial communication
}
void loop() {
if (Serial.available()) {
char command = Serial.read(); // Read the command
if (command == 'F') { // Move forward
motor1.setSpeed(255);
motor1.run(FORWARD);
motor2.setSpeed(255);
motor2.run(FORWARD);
} else if (command == 'B') { // Move backward
motor1.setSpeed(255);
motor1.run(BACKWARD);
motor2.setSpeed(255);
motor2.run(BACKWARD);
} else if (command == 'L') { // Turn left
motor1.setSpeed(255);
motor1.run(BACKWARD);
motor2.setSpeed(255);
motor2.run(FORWARD);
} else if (command == 'R') { // Turn right
motor1.setSpeed(255);
motor1.run(FORWARD);
motor2.setSpeed(255);
motor2.run(BACKWARD);
} else if (command == 'S') { // Stop
motor1.setSpeed(0);
motor2.setSpeed(0);
}
}
}
```
#### 6. Upload the Code
- Connect your Arduino Nano to your computer and upload the code using the Arduino IDE.
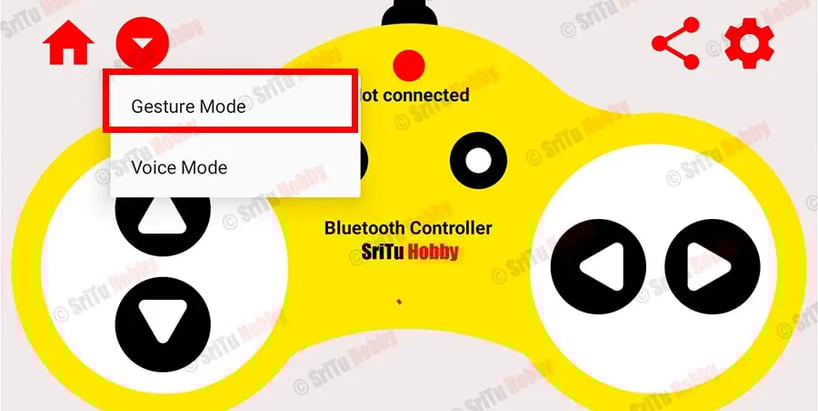
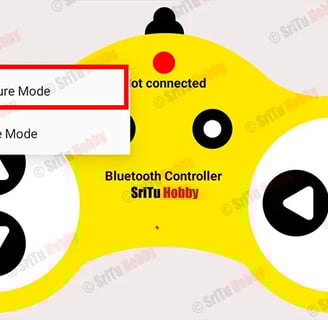
#### 7. Use a Bluetooth Terminal
- Download a Bluetooth terminal app on your smartphone (like Bluetooth Terminal or Arduino BlueControl).
- Pair your phone with the Bluetooth module. Use the app to send the commands ('F', 'B', 'L', 'R', 'S') to control the car.
### Tips for Successful Operation:
- Ensure the battery has enough charge for both the Arduino and motors.
- Test each motor individually to confirm they respond as expected to commands.
- Adjust the motor speed in the code according to your preference for acceleration or responsiveness.
### Conclusion
With these steps, you'll have a modified Bluetooth-controlled car that you can control from your smartphone. This project is a great way to learn about robotics, Bluetooth communication, and Arduino programming. You can further enhance your car by adding features like obstacle avoidance, camera modules, or additional sensors for more complex functionality!