
How to use the Raspberry Pi camera module with the Raspberry Pi board
**Raspberry Pi Camera** Connect the camera module to the CSI port on your Raspberry Pi. Enable the camera in the Raspberry Pi configuration. Use command-line tools like `raspistill` and `raspivid` for basic image and video capture. For advanced control and image processing, utilize Python libraries like `picamera`.
SCIENCE PROJECTS

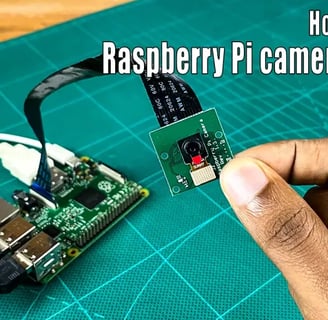
his tutorial explains how to use a Raspberry Pi camera module with a Raspberry Pi. While a Raspberry Pi 2 Model B was used for demonstration, the instructions generally apply to other models as well (though Pi Zero users will need an adapter cable).
Several Raspberry Pi camera modules are available, including versions 1, 2, and 3, the HQ Camera, and the Global Shutter Camera. Each has unique features and technology. Versions 1, 2, and 3 are the most common.


Here's a breakdown of their specs:
Camera Module v1 (2013): 5 megapixels, 1080p30 video, OmniVision OV5647 sensor (2592x1944 pixels).
Camera Module v2 (2016): 8 megapixels, 1080p47 video, Sony IMX219 sensor (3280x2464 pixels).
Camera Module v3 (2023): 11.9 megapixels, 2304x1296p56 video, Sony IMX708 sensor (4608x2592 pixels).
HQ Camera: 12.3 megapixels, various video modes including 2028x1080p50, Sony IMX477 sensor (4056x3040 pixels). Designed for higher quality images and accepts interchangeable lenses.
GS (Global Shutter) Camera: 1.58 megapixels, 1456x1088p60 video, Sony IMX296 sensor (1456x1088 pixels). Uses global shutter technology, useful for capturing fast-moving objects without distortion.
The tutorial then focuses on a specific camera module (likely a v1 based on the specs provided):
Dimensions: 20 x 25 x 10mm
Resolution: 5 megapixels
Still Image Resolution: 2592 x 1944
Sensor: Omnivision 5647 CMOS
Max Frame Rate: 1080p at 30fps, 720p at 60fps
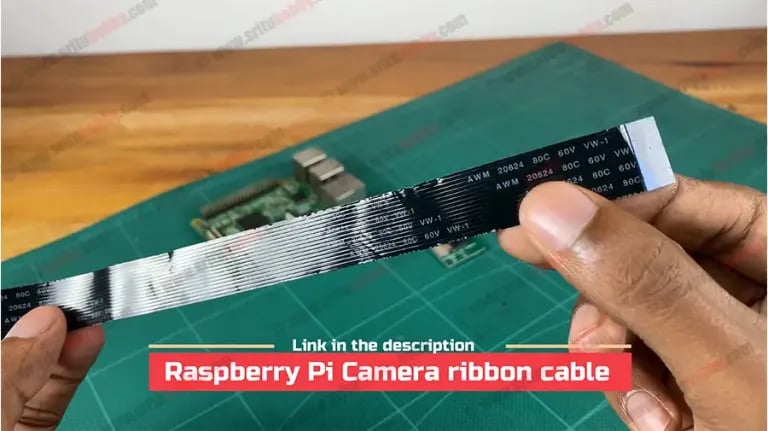
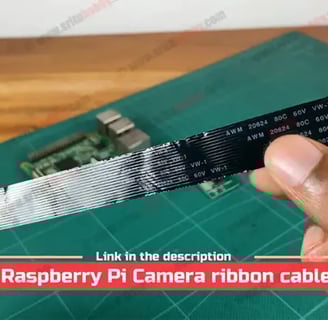
Connection: 15-pin ribbon cable to the CSI-2 port
Temperature Range: -30°C to +70°C (stable image from 0°C to 50°C)
The required components are:
Raspberry Pi 2 Model B
Raspberry Pi Camera Module with ribbon cable
A Python script
The provided Python script uses the picamera library to perform several actions:
onePhoto(): Takes a single photo and saves it to the desktop.
multiPhoto(): Takes three photos in sequence and saves them to the desktop with numbered filenames.
video(): Records a short video clip and saves it to the desktop.
modifyPhoto(): Takes a photo with modified settings:
Resolution set to 800x800.
Frame rate set to 15fps.
Applies an "oilpaint" image effect.
Sets exposure mode to "snow."
Sets white balance mode to "shade."
Adjusts brightness and contrast.
Adds annotated text ("SriTu Hobby") with a red background and white foreground.
from picamera import PiCamera, Color from time import sleep camera = PiCamera() camera.rotation = 180 times = True def onePhoto(): camera.start_preview() sleep(4) camera.capture('/home/srituhobby/Desktop/image.jpg')#change location camera.stop_preview() def multiPhoto(): camera.start_preview() for i in range(3): sleep(4) camera.capture('/home/srituhobby/Desktop/images%s.jpg'% i)#change location camera.stop_preview() def video(): camera.start_preview() camera.start_recording('/home/srituhobby/Desktop/video.h264')#change location sleep(6) camera.stop_recording() camera.stop_preview() def modifyPhoto(): camera.resolution = (800,800) #Max = 2592,1944 / Min = 64,64 camera.framerate = 15 camera.start_preview() camera.image_effect = 'oilpaint' #none,negative,solarize,sketch,denoise,emboss,oilpaint,hatch,gpen,pastel,watercolor ... camera.exposure_mode = 'snow' # off,auto,night, nightpreview, backlight, spotlight, sports, snow , beach , verylong ... camera.awb_mode = 'shade' # off, auto , sunlight , cloudy,shade,tungsten,fluorescent,incandescent,flash,horizon camera.brightness = 80 # 0 - 100 camera.contrast = 50 # 0 - 100 camera.annotate_background = Color('red') camera.annotate_foreground = Color('white') camera.annotate_text = "SriTu Hobby" camera.annotate_text_size = 50 sleep(4) camera.capture('/home/srituhobby/Desktop/imagems.jpg')#change location camera.stop_preview() while times: # onePhoto() # multiPhoto() # video() # modifyPhoto() times = False